Sunday, October 11, 2015

The Preschool Express visits the Farmer's Market!

  As Autumn begins, we start our unit on Farm.  The children learn about what animals live and are raised on farms, what food is grown on farms, and how the food gets from the farm to us.  In addition to a trip to a real farm, we like to bring the farm to them in the classroom, as much as we can.  To do this, we turn our dramatic play center into a Farmer's Market.  


  We turned our puppet stand into a Farmer's Market Stand - we painted a poster board red and blue stripes, trimmed the edges to scallop it and put it on top of the puppet stand as an awning.  We added a pretend cash register, a "for sale" list, and to encourage writing, a clipboard and pencils.  We put pictures of healthy foods on the front.


  We used play food in baskets to display what was for sale.  We turned our train depot (from the beginning of the year) into the front of a farmhouse.  


  We turned the back of two shelves into a pumpkin patch, as part of the market.  The children painted two different size pumpkins for our patch.  


  Another shelf was turned into a duck pond.  We covered the shelf with light blue bulletin board paper, and used blue paint to give it texture.  Green fringed bulletin board paper was used to create grass at the edge of the pond.  The children painted their ducks, then applied yellow tissue paper for "feathers". Craft feathers could also be used.  The book read to go along with this project was One Duck Stuck by Phyllis Root.


  We also decorated with real pumpkins, a scarecrow and some apples.


    In my next blog post, I will share how we brought the Farm to other centers in our classroom.  I hope this inspires you to enhance your unit on Farm when you teach about it. 

~Christa~

Wednesday, August 12, 2015

Welcome Aboard the Preschool Express!

Happy New School Year!

Gosh, it's already the 2015-2016 school year, and I haven't even blogged about all the fun things we did last year!  I guess it's time to catch up!  

Last school year, our theme for the year was "Welcome Aboard the Preschool Express". We used the theme for the entire year.  At the beginning of the school year, I made a train engine and five train cars.  Our class can have up to 20 children in it, so the plan was to display the work of four students per train car.  As the year evolved, our ideas did too, so we started changing out the train cars depending on our current unit.  I will show how we changed out the train in other posts.  These are the train cars as I was in the process of making them: 


The train cars were made using bulletin board/butcher paper, glitter, glue, tape and laminated bordered papers for windows.  We used the same materials for the engine.  This is our train engine while it was being made:


Inside our dramatic play center, on the side of our loft, our student teacher created a train depot.  We changed it out as well during the school year.  


Our student teacher also took an idea I found on Pinterest to make this "where we are" board.  She cut out the pieces using her Cricut machine.  Where ever we were, the train car would be parked at the train station.  The board hung outside our classroom door so anyone who came to see us would know where to find us.  


A picture of our train engine after we hung it in the hallway for our beginning of the year display:


We used the train theme in other ways as well.  Every morning when the children come into the classroom, they have to find their name and put it in a basket.  For this theme, we labeled the basket "Passenger Check In".  They used "Tickets" from Trend Enterprises Their first day of preschool pictures were taken in front of the train engine and in front of our train depot.  They had passports to hold because they were all about to start their journeys on the Preschool Express.  


I will post again soon showing how we continued to carry our train theme through the whole year in case someone would like to do a train theme too.  

~Christa~

Tuesday, December 30, 2014

Spring Enchanted Fairy Garden

After our jungle unit, we were entering spring here in Louisiana, so I suggested we evolve our jungle into an Enchanted Fairy Garden.  We added more flowers to our vines, added colored tulle to our ceiling for mystical and magical feeling.  We created a garden as our hallway display (see Hallway Displays 3).  Then I made each child a fairy which hung in our room. I created patterns for hair choices, legs, arms, wings, heads, ears, and clothing choices.  Each child got to choose the colors of their fairy's eyes, hair, wings, and clothing.  As well as choosing the hairstyle, and the added features such as buttons, gems, hair bows, cheek and mouth styles.  While I had to construct the fairies, all the choices were the children's, which is why each one is unique.  


Our Fairies


Tutus and wings for the girls to dress up in.  The boys had Peter Pan and Mad Hatter outfits to wear.  The children played tea party in dramatic play, in their enchanted fairy garden.  Fairy houses were made out of styrofoam cups and paper painted bowls decorated by the kids.  The children also painted egg cartons to create caterpillars.  


We also made a "butterfly bush".  I painted the children's feet the colors they chose and used their footprints to make butterflies.


The children loved their enchanted garden, and were sad to leave at the end of the year.  It was so pretty, we hated taking it down after the school year ended.


I hope our enchanted fairy garden inspires you to bring some "magic" into your classroom this year.  

~Christa~

Saturday, December 27, 2014

Jungle Fun

Wow!  I can't believe it's almost 2015!  Half the school year is already over, and another calendar year is on it's way out.  Back in February, we studied the Jungle for several weeks.  I had an idea to "bring the jungle" to our students, since there was no way to bring the children to the jungle here in Louisiana.  So I convinced the teacher I worked with to help me decorate our room in a jungle theme.  We used items we both already had at home such as her cheetah pillows, fake flowers from my wedding and my king size black canopy.  


Brown bulletin board paper was twisted into vines and hung them from the ceiling.  Green leaves made from lightweight bulletin board paper were added on the vines.  I also made some tissue paper flowers for the some of the vines. Not shown, several large sections of green bulletin board paper were put on the ceiling to make the jungle "canopy" more green and "lush". 


The loft was turned into "Baloo's Block Bungalow".  


On the other side of our loft, was a waterfall.  The steps to create the waterfall: 1.put up brown bulletin board paper and paint a stone design on it 2. add crumpled turquoise bulletin board paper for the water.  3. add fake flowers and/or vines.  I used flowers I had from my wedding.


The dramatic play center was turned into a Jungle Tour company.  I made binoculars for the children out of toilet paper tubes, cheetah duct tape, and yarn. I made mini tiki torches using cheetah duct tape covered styrofoam cups filled with orange, yellow and red tissue paper to resemble fire.


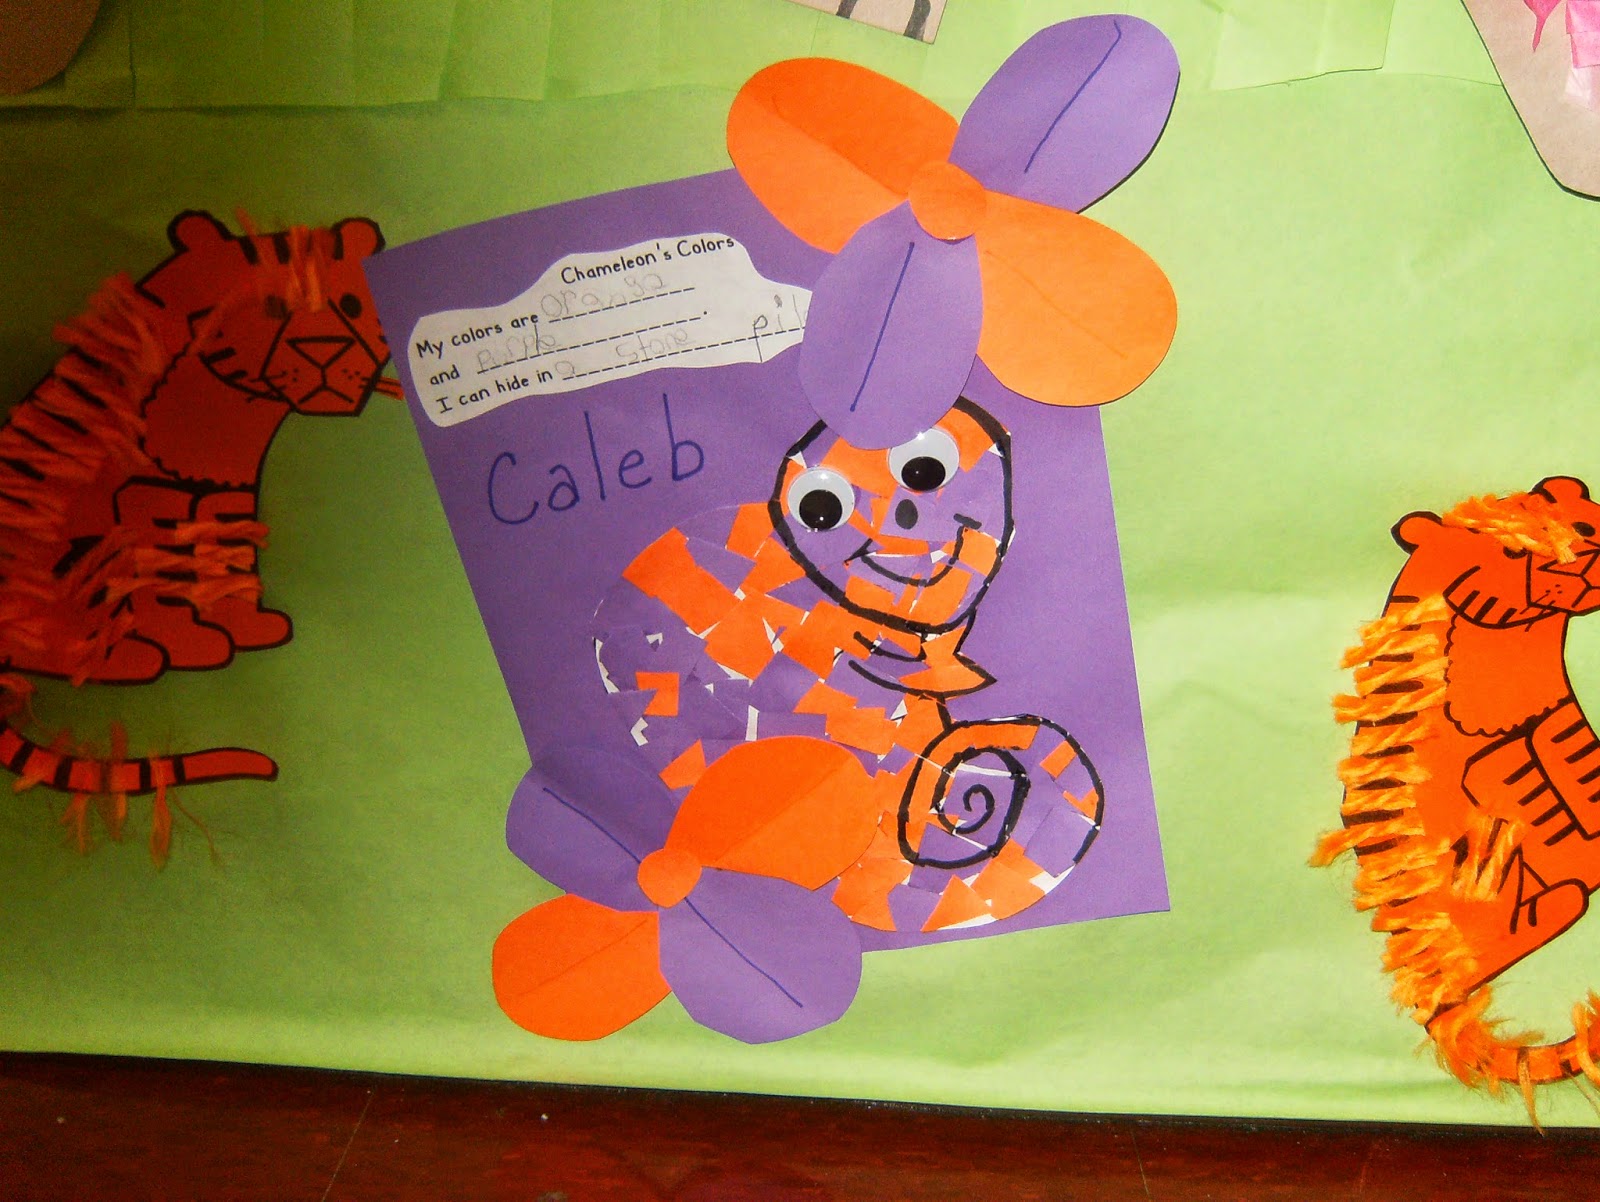
The front of some of our shelves were turned into jeeps.  Our children brought stuffed jungle animals to school, as did we, so there were animals to see on the "jungle tours".  Our children had a lot of fun taking each other, and visitors such as our principal, on jungle tours.  We also made some jungle animals at art to display around the room.  We made lions, giraffes, chameleons, elephants, monkeys, toucans and tree frogs.


 We also did a jungle explorer writing activity. **** Original idea seen on Buzzing About Second Grade blog!!!  Go to Buzzing About Second Grade blog for copies of the report, pattern and directions!!!   And we did a project about the four layers of the jungle.


We enjoyed the jungle unit, and can't wait to teach it again in the new year.  I hope this year's kids enjoy it as much as last year's kids did!  

~Christa~


Wednesday, August 27, 2014

Hallway Displays Part 3: Enchanted Fairy Garden

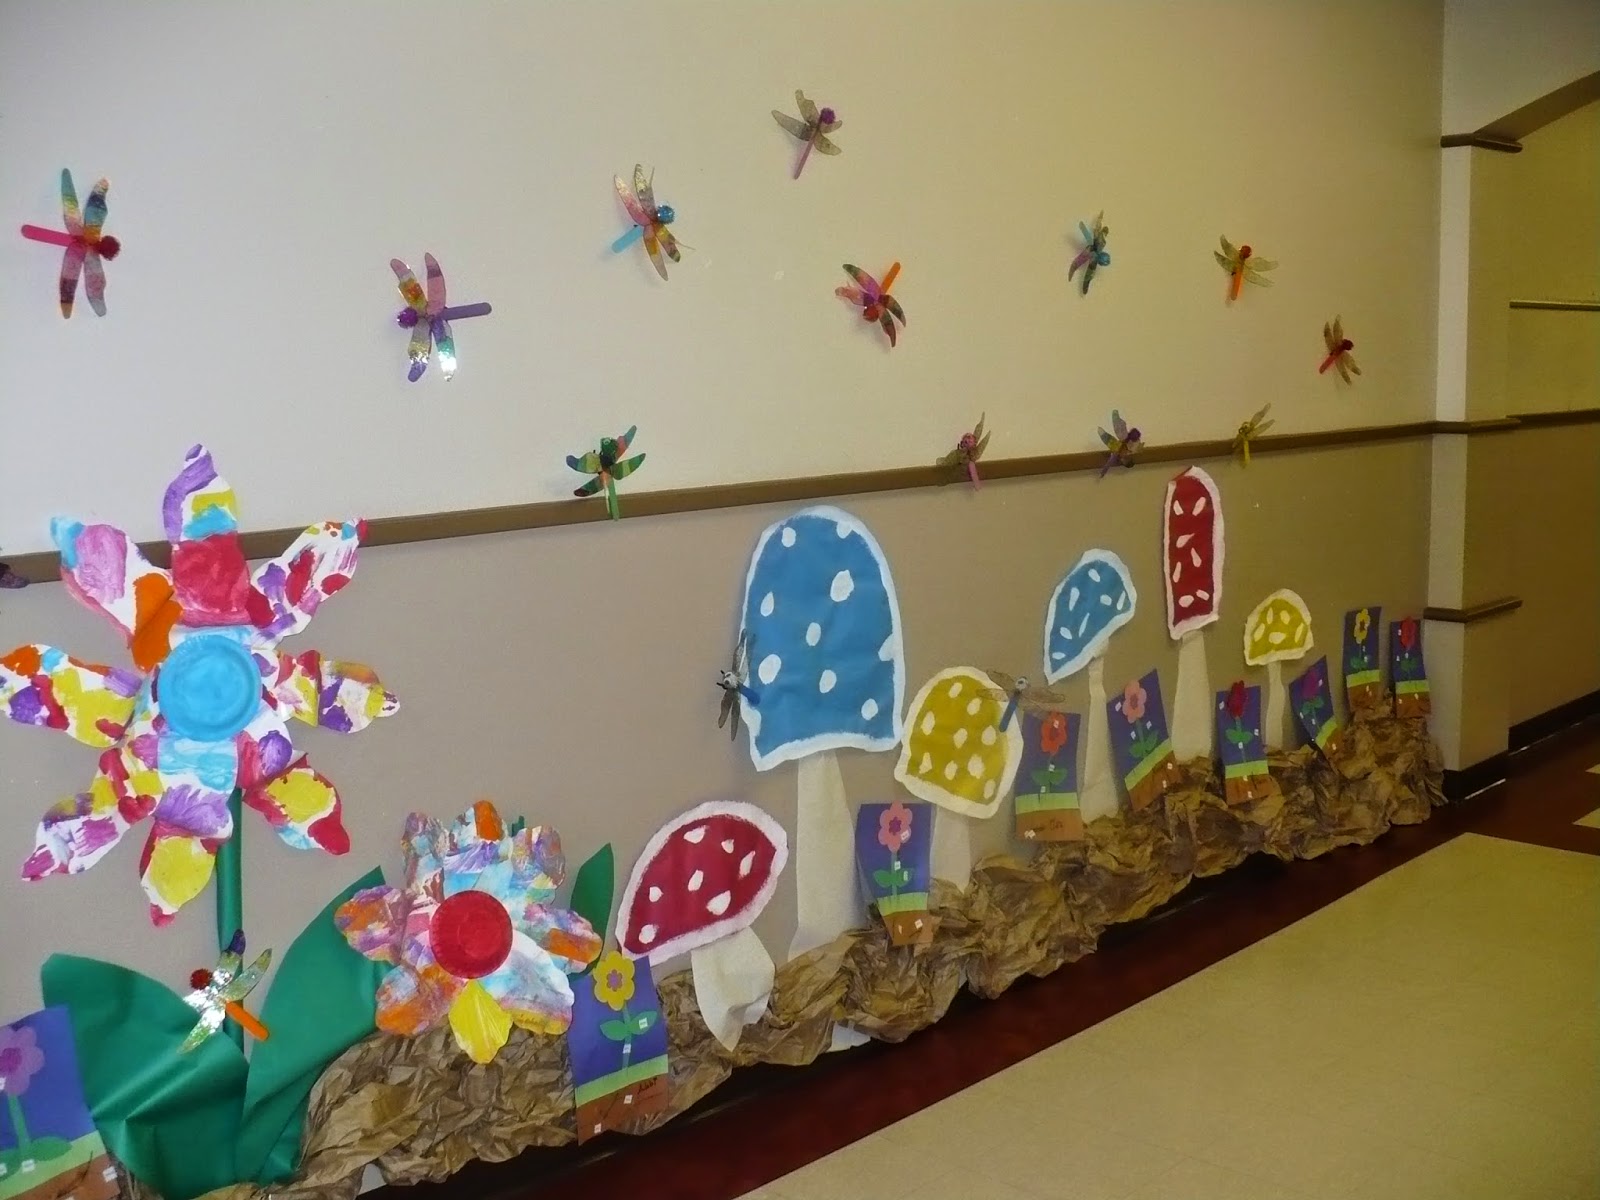
  To end our school year, our last hallway display was an Enchanted Fairy Garden.  The sign above our display said: "Welcome to our Enchanted Fairy Garden where learning is MAGICAL!"  Our children made giant flowers, ladybugs, snails and dragonflies.  Giant mushrooms completed our garden.


  To make our flowers, the children painted a bowl and two large pieces of white paper with several different colors. I then cut each child's paintings into flower petals.  Then the petals were hot glued to the bowl each child painted. I used green bulletin board paper to make the stems and leaves. 


    In between the mushrooms, we added flowers the children had made showing how a flower grows and labeled with a flower's parts. (flower, leaves, stem, seeds, and roots)


  The one small flower in our garden was painted by my son, who visited us during the school year occasionally, as he was too young for our preschool program.  I'm excited because he gets to be in the three year old program this year.  :)


  We made our dragonflies two different ways - one was done using tissue paper to make them colorful, the other one was made with only glitter to look more like a real dragonfly.


  The dragonflies were made using tongue depressors, glitter pom poms, google eyes, glitter, paint, glue (school and hot), pipe cleaners and transparency sheets.  I drew the wings I wanted, then used the copy machine to transfer them onto the transparency sheets.  I was able to make four sets of wings per sheet. Each child made two dragonflies - one with tissue paper, and one without. The children used a paintbrush to paint glue on the wings.  They applied tissue paper and then glitter to one, and just glitter to the other pair of wings.  They painted two tongue depressors on both sides.  I used the hot glue gun to complete the dragonflies by glued the wings and pom pom onto the dried tongue depressor.  And then added eyes to the pom pom to finish the head.  Pipe cleaners were cut and bent to form small legs for the dragonflies.  The pipe cleaner legs were hot glued to the bottom side of the tongue depressor.


  To make our snails, the children used "paint dotters" to decorate the snails.  After laminating the painted snail, I added a pipe cleaner mouth, and pipe cleaner and ping pong eyes. (added using hot glue)


  I hope you enjoyed our hallway displays from the 2013-2014 school year.  Our new school year has begun, and I look forward to sharing the rest of what we did last year, and what we will do this year! 

~Christa~